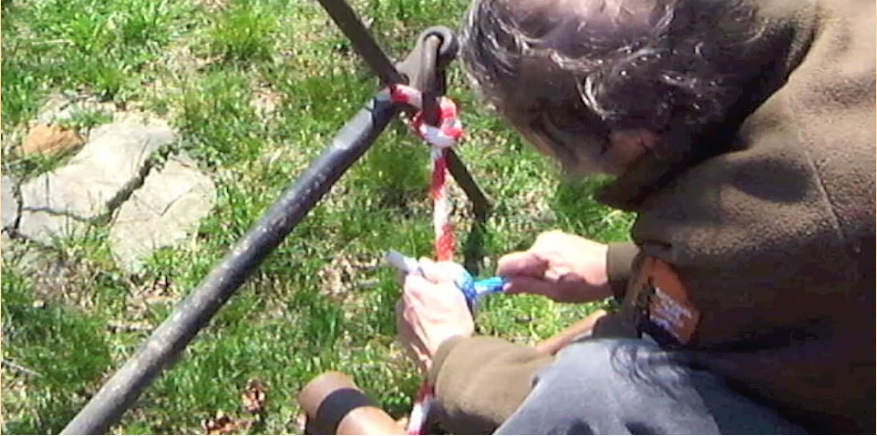
| 1.4.1 Figure of Eight Knot |
This knot is useful as a stopper knot to prevent a line from running
through a hole. It is better than an overhand knot because it is
easier to untie. The figure of eight is used to make the steerboard
fast to the wart of the Gyrfalcon and, in varying
configurations, on the Sæ Hrafn’s steering
gear and halyards.
The figure of eight knot is also particularly good for slippery
synthetic lines.
|
|
|---|
| |
1.4.2 Reef Knot
(a.k.a. Square Knot) |
The reef knot should be used only to contain an outward pushing
load, such as the rolled portion at the foot of a reefed sail (oddly
enough). This knot must never be used as a bend, since it may
easily be 'spilled' and slip off. This knot consists simply of two
overhand knots in opposite directions. With a third overhand, this
knot is used to attach (“bend”) a sail to a yard.
|
|
|---|
| |
| 1.4.2.5 Surgeon's Knot |
A variant of the reef knot, with an extra turn in the second overhand,
to make it more secure.
|
|
|---|
| |
|
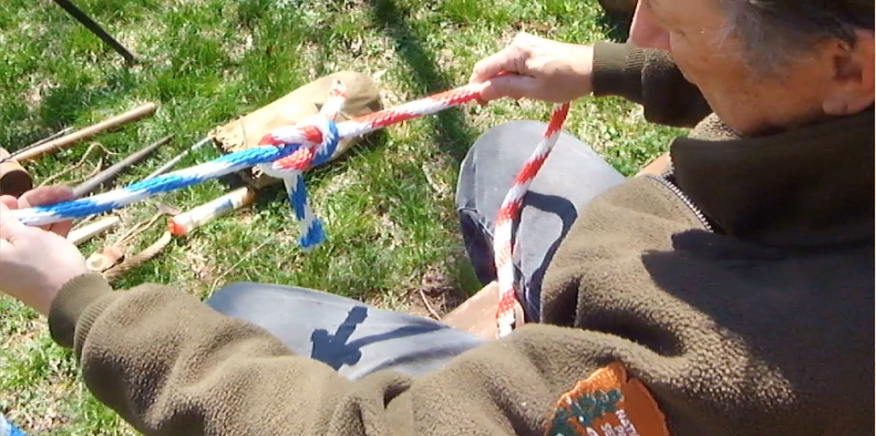
1.4.3 Sheepshank |
A useful and reliable way to take up unwanted slack
in a line without having to disturb the ends. |
|
|---|
| |
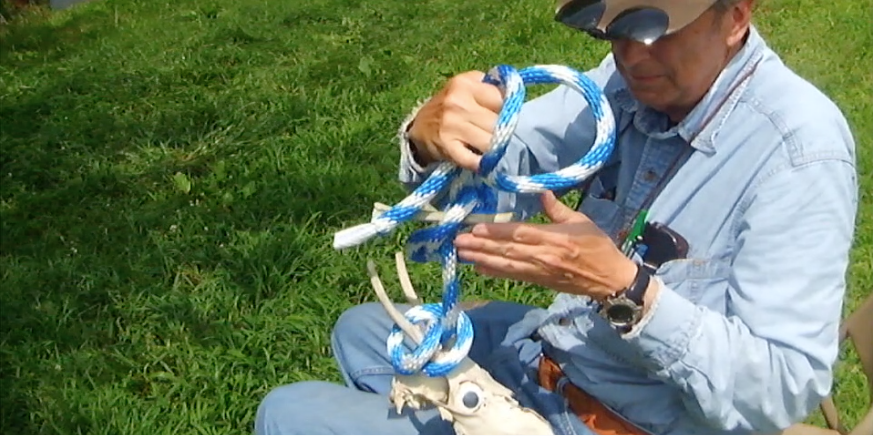
| 1.4.4 Bowline |
This is probably the single most useful knot to know.
Anywhere a temporary loop is needed in a line, a bowline will do the job.
The bowline is easy to tie, and will not jam. |
|
|---|
| |
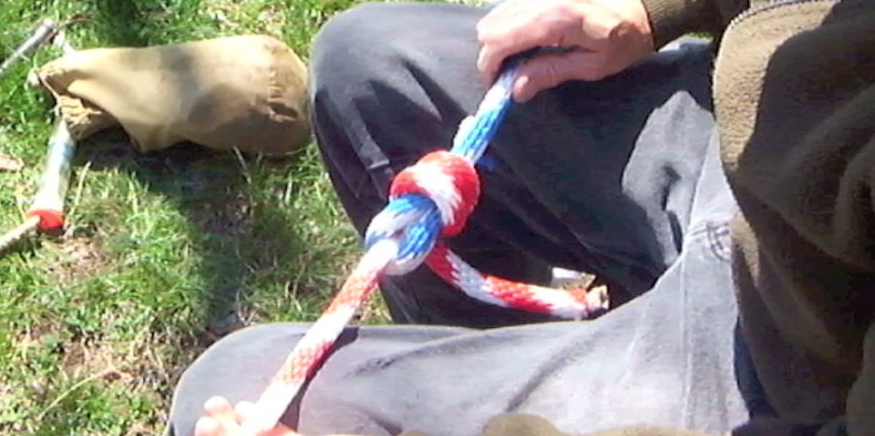
| 1.4.5 Strangle Knot |
A good general-purpose binding knot. It is frequently used in the
end of a coiled line to bind the coil. When tied in small line or
thread and hauled tight, it is very difficult to untie and may have
to be cut off.
|
|
|---|
| |
|
1.4.6 Round Turn and
Two Half Hitches |
An excellent general purpose hitch, frequently used to hitch a
mooring line to a thwart, or for making the Gyrfalcon fast
to her trailer. The round turn is important, as it keeps the half
hitches from being drawn up hard against the post.
|
|
|---|
| |
| 1.4.7 Clove Hitch |
An easily made and practical hitch, useful when the direction of
the pull is fairly constant. It is excellent for hanging things
from a bar. Used with two half–hitches to hitch the halyards
to the yard. If used to moor a boat to the dock without immediate
supervision, the addition of two half–hitches around the
standing part (leading to the vessel) is always prudent.
|
|
|---|
| |
| 1.4.7.5 Clove Hitch on a Cleat |
The Clove Hitch is convenient to fasten a line to a cleat.
|
|
|---|
| |
| 1.4.8 Rolling Hitch
(or Magnus Hitch) |
Like a Clove Hitch with an overriding turn, this hitch is
the only one which may be used on a smooth surface of something
which might roll. Used to hitch the braces to the yard.
|
|
|---|
| |
| 1.4.8.5 Magnus Hitch used as a
Taut–Line Hitch |
The Magnus Hitch may also be used to fasten a line
to the middle–section of another line.
|
|
|---|
| |
|
1.4.9 Sheet Bend |
If you only learn one bend, this is should be the one. Holds fast
even when the lines to be joined are of different sizes and types.
Generally used on shipboard to attach a heaving line to a mooring
line. This is the same knot as the Bowline, but with two
lines.
Also known as the Becket
bend.
|
|
|---|
| |
| 1.4.10 Double Sheet Bend |
Doubling the Sheet Bend will prevent it from slipping. If the bend
is to remain tied for a long time, this is better than a single
Sheet Bend. (Since it shares the same geometry with the bowline,
note that a bowline can also be similarly doubled.)
Also known as the
Double Becket bend.
|
|
|---|
| |
| 1.4.11 Gordian Knot |
The insoluble tangle that results from not reading this
manual. It is important that the appropriate knot be consistently
used in each application aboard ship, so that the next person to
come by knows how to untie it quickly. If one knot is good, two
are not twice as good. More is not always better.
|
|
|---|
.png)